
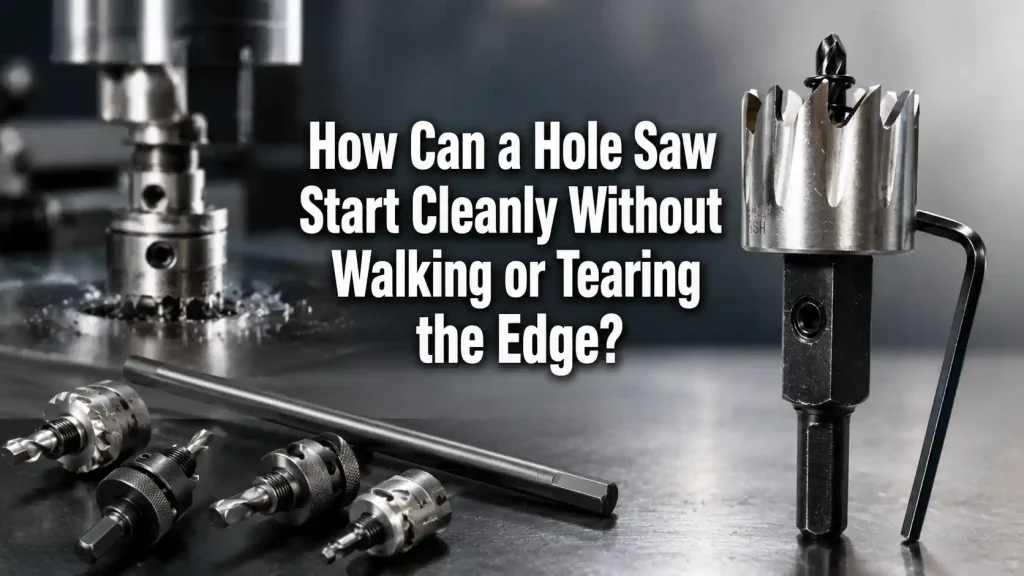
Clean round openings are easy to underestimate until the first cut drifts across a cabinet panel, chips a finished surface, or leaves an oversized hole around a conduit fitting. A hole saw does not behave like a twist drill. It has a large circular cutting edge, a pilot drill or arbor in the center, and a lot of leverage when the teeth first touch the work. If the start is unstable, the problem can show up as walking, chatter, tear-out, a rough exit edge, or a hole that looks round from one side but is damaged on the back. The fix is usually not more force. For a hole saw, it is better centering, firmer support, the right speed, and a short inspection before the teeth fully engage.
Quick Answer
A Hole Saw can start cleanly when the center point is controlled, the workpiece is supported, the arbor runs true, and the teeth meet the material at a steady speed without side load. Mark the center clearly, use a pilot hole or guide when needed, clamp the work, keep the tool square, and let the cutter establish a shallow circular track before applying normal feed pressure.
For buyers, installers, and workshop teams, hole saw selection also matters because the cutter, arbor, pilot drill, tooth form, diameter, and material all influence how cleanly the cut begins. A hole saw that is too aggressive for a thin panel, too dull for metal, or poorly matched to the arbor can walk even when the operator is careful.
Why a Hole Saw Walks at the Start
Walking usually happens before the circular teeth have a stable track. The pilot drill touches first, but the outer teeth are wide and can catch unevenly. If one side of the cutter touches before the other, the tool can slide across the surface. A hole saw also has more rotational leverage than a small drill bit, so a small angle error at the start can become a visible scratch or oval opening.
Thin sheet metal, painted panels, laminated boards, plastic enclosures, and tile surfaces are common places for walking. The surface may be smooth, the material may flex, or the center mark may be too shallow to hold the pilot. On wood or plywood, the start can look fine while the exit side tears badly. On metal, the teeth may skate if speed is too high or the arbor is not held square.
The main point is that the start of the cut deserves its own setup. Once the rim has made a shallow groove, the cutter is easier to control. Before that groove exists, the operator should reduce pressure, check alignment, and avoid letting the tool pull itself into the material.
Confirm the Center Before the Tool Touches
A clean opening begins with the center mark. For rough construction work, a pencil mark may be enough. For finished panels, brackets, junction boxes, control cabinets, or fixtures, the center should be confirmed against the actual part that will be installed. If the hole is for a pipe, cable gland, lock, drain, fastener clearance, or conduit fitting, check the required clearance and the visible trim edge before cutting.
On metal, a center punch helps the pilot drill start without sliding. On wood or plastic, a sharp pilot drill and a clear mark are usually more important than a deep dent. On tile or glossy material, a guide block or template can be safer than relying only on the pilot point. A hole saw should not be allowed to find its own center after the trigger is pulled.
Center accuracy also includes access behind the surface. A hidden wire, fastener, bracket rib, or reinforcement can push the pilot or cutter off track. If the workpiece is part of an installed assembly, check the backside when possible. If it cannot be checked, use controlled pressure and stop as soon as the tool feels unusual.
Match the Arbor and Pilot Drill
The arbor is the connection between the drill and the cutter. If it is loose, bent, worn, or mismatched, the cutter can wobble before the teeth even start cutting. The pilot drill should be straight, firmly tightened, and long enough to guide the cut without bottoming out or wandering. A hole saw with a poor arbor setup may leave a rough start even when the cutter teeth are still sharp.
Check the arbor thread, pins, shank, pilot drill, and any locking mechanism. A small amount of play can become visible at the rim of a large diameter cutter. The larger the diameter, the more important the arbor becomes. For repeat holes, the team should treat arbor inspection as part of setup, not as a repair step after several holes have already been damaged.

If the pilot drill is dull, bent, or packed with debris, it may skate or enlarge the center hole. If the pilot hole becomes oversized, the cutter loses guidance and the circular teeth may chatter. Replacing a small pilot drill is usually cheaper than accepting a batch of rough holes.
Support the Material So It Cannot Flex
Flex is a quiet cause of bad holes. A thin panel can move away from the cutter, then spring back as the teeth bite. That movement creates chatter, broken paint, burrs, and uneven pressure on the rim. Even a sharp hole saw will struggle when the workpiece is vibrating or unsupported.
Use a sacrificial backing board for wood, plastic, and sheet material when the job allows it. Clamp the work near the cut area. Avoid holding a small part by hand, because the cutter can grab suddenly. On installed cabinets or panels, support the back side if it is reachable. When the backside cannot be supported, reduce feed pressure and let the teeth cut gradually.
Backing also helps the exit side. Many rough holes are not caused by the start; they are caused by the cutter breaking through unsupported material. The front side may look clean while the back side splinters, chips, or bends. For visible openings, plan for both entry and exit quality.
Read the Surface and Choose the Starting Method
Different surfaces need different starts. A single method will not fit every job. The table below shows common starting risks and practical checks before cutting.
| Material or surface | Common start problem | Practical starting check |
|---|---|---|
| Painted sheet metal | Teeth skate and scratch the finish | Center punch lightly, use controlled speed, keep the tool square |
| Thin stainless or mild steel | Chatter, heat, and burrs appear early | Clamp firmly, use suitable cutter type, avoid high speed |
| Plywood or laminated board | Exit tear-out and edge splintering | Use backing board, cut from both sides if accuracy allows |
| Plastic enclosure | Melting, grabbing, or cracked edge | Use steady low pressure and clear chips often |
| Tile or glazed surface | Pilot slips before the rim tracks | Use a guide, template, or approved tile-starting method |
| Installed cabinet panel | Hidden obstruction or vibration changes the cut | Check backside access and support the panel before cutting |
This kind of review does not add much time, but it changes the cut from a guess to a controlled operation.
Establish a Shallow Track Before Full Feed
The first few seconds matter. Hold the tool square, bring the pilot drill to the center, and let the hole saw touch lightly. The goal is to form a shallow circular track. Once that track is visible and even, the hole saw is less likely to walk. If the track is heavier on one side, stop and correct the angle before continuing.
For larger diameters, some operators start at a slight angle to create an initial bite, then bring the tool square. That method can work in certain materials, but it requires control and should not be used casually on finished or thin surfaces. A guide block, drill press, or template is often more repeatable when accuracy matters.
Pressure should increase only after the hole saw is stable. Too much feed at the beginning can make the teeth grab. Too little control can let the tool bounce. A clean start is a balance: enough pressure to cut, not so much that the rim digs in unevenly.
Control Speed, Heat, and Tooth Engagement
Speed has a direct effect on hole saw walking and edge quality. High speed can make teeth skate on metal, melt plastic, or overheat the cutting edge. Very low speed with too much pressure can make the cutter grab. The right speed depends on material, cutter diameter, cutter type, and tool stability.
A larger hole saw usually needs slower speed than a smaller one. Harder materials usually need more care than soft wood. Thin sheet may need a controlled start so the teeth do not catch and deform the panel. The operator should listen for steady cutting rather than forcing the tool to maintain speed at any cost.
Heat is also a warning sign. If the cutter face becomes polished, chips stop clearing, or the cut smells hot, pause and reassess. A general hole saw reference describes the tool as a saw blade formed into a ring for cutting circular holes. That ring shape is useful, but it also means many teeth are sharing the cut; when chips cannot clear, heat rises quickly.
Keep Chips and Plugs From Changing the Cut
Chip clearing is part of hole saw accuracy. Packed chips increase friction, hide heat, and can make the cutter bounce. In wood, a plug can bind inside the cup. In metal, fine chips can collect around the teeth and create scratch marks. In plastic, melted chips can stick to the cutting edge.
Pause during deeper cuts to clear chips when the material permits it. Remove the plug safely after the tool stops. Do not pry aggressively against the teeth. If a plug is stuck, check whether the cutter has side slots, ejection features, or an arbor design intended to help removal. A hole saw that is packed with material will not start the next hole cleanly.
For repeated work, plug removal time should be considered part of production planning. A cutter that works well for one hole may become inconsistent when every hole leaves a hot plug inside the cup. Clean teeth and a clear cup help the next start stay predictable.
Check Entry Edge and Exit Edge Separately
The entry edge and exit edge fail in different ways. The entry side shows walking, surface scratches, and uneven start marks. The exit side shows tear-out, burrs, breakout, or pushed material. A hole can pass a quick front-side inspection and still be poor on the back.
For wood and laminated boards, backing support is often the simplest way to protect the exit. For visible surfaces, cutting partway from one side and finishing from the other can reduce tear-out, but only if the pilot hole and layout are accurate enough to keep both cuts aligned. For metal panels, deburring may be necessary even when the cut is otherwise clean.
Do not assume the trim ring or fitting will hide every problem. Oversized holes, angled holes, and chipped coatings can affect sealing, appearance, and installation reliability. A hole saw cut should be judged by the finished requirement, not only by whether the circular piece came out.
Troubleshoot a Bad Start Before Repeating It
When the first hole is rough, the next one should not be started immediately. Use the damaged hole as information. The table below separates common visible defects from likely causes and next checks.
| Defect after the cut starts | Likely cause | What to check before the next hole |
|---|---|---|
| Crescent scratch near the hole | Cutter walked before tracking | Center mark, pilot drill point, guide method, tool angle |
| Oval or oversized opening | Wobble, side load, loose arbor, or flexible panel | Arbor tightness, clamping, backing support, drill square |
| Heavy burr on metal | Speed, feed, cutter condition, or unsupported sheet | Speed setting, tooth sharpness, material support |
| Splintered wood exit | No backing or too much breakout pressure | Backing board, cutting from both sides, sharper cutter |
| Melted plastic edge | Heat and chip buildup | Slower speed, lighter pressure, frequent chip clearing |
| Chipped coating or paint | Teeth grabbed or panel vibrated | Tape or surface protection when allowed, support, controlled start |
A hole saw problem usually repeats until the setup changes. Replacing the cutter may help if it is dull, but a new cutter will still walk if the center, arbor, support, or speed is wrong.

Inspect Cutter Condition Before Accurate Work
Before cutting finished material, inspect the hole saw teeth. Missing teeth, uneven wear, heavy pitch buildup, polished cutting edges, or a distorted cup can all affect the start. The pilot drill should be straight and sharp. The arbor should hold the cutter without visible wobble. A hole saw that has been used on hard material and then moved to a finished panel deserves extra attention.
Tooth condition should be judged against the job. A cutter that is acceptable for rough utility holes may not be acceptable for cabinet faces, finished boards, or panels that need a gasket. The cleaner the required edge, the more important the condition check becomes.
Also check diameter and depth. A cutter that is too shallow for the material may bottom out on the plug. A cutter that is much larger than needed may be harder to control. When buying for repeated work, choose the diameter, cutter family, pilot drill, and arbor as a system rather than treating each part separately.
Avoid Common Operator Mistakes
The first mistake is starting too fast. High speed feels efficient, but it can make the teeth skate before they cut. The second mistake is leaning harder when the rim chatters. Side pressure can enlarge the hole and damage the edge. The third mistake is skipping clamps or backing because the material seems thin and easy.
Another mistake is using a worn pilot drill. If the center is unreliable, the rim cannot stay reliable. A hole saw relies on guidance before the circular teeth stabilize. The fifth mistake is continuing after the first rough hole without checking the tool. Rough entry marks, heavy burrs, or a stuck plug are not random events; they are feedback.
For teams that make repeated holes, these mistakes become cost issues. A few seconds of setup can prevent rework, wasted panels, damaged coatings, and poor fitting alignment.
Choose the Cutter Type Around the Work
The hole saw should match the material and the finish requirement. HSS, bi-metal, TCT, diamond, and specialized designs are not interchangeable in how they start or how they clear chips. A hole saw chosen for sheet metal may not be the right choice for tile, and a cutter used for rough wood may not give the clean edge needed on a finished laminate.
For metal openings, tooth strength, chip evacuation, and heat control matter. For wood, clean edge behavior and backing support are often more important. For plastic, heat and grabbing must be controlled. For tile or brittle surfaces, guidance and surface protection become central concerns. hole saw selection should therefore begin with the workpiece, not only with the required diameter.
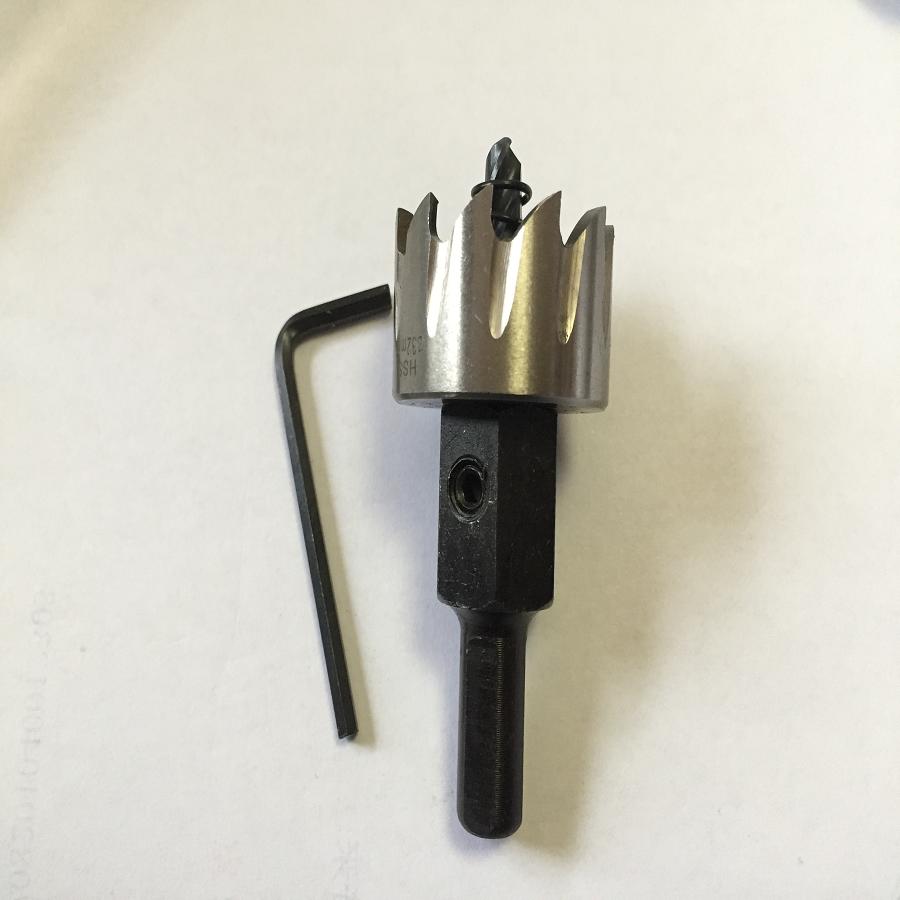
Bestwin offers several Hole Saw categories, including HSS, TCT, M42 bi-metal, diamond, and arbor-related options. Those product families are most useful when the buyer first defines the surface, thickness, diameter, power tool, accuracy requirement, and edge finish. The product choice should support the cutting method, not replace the setup checks that keep the start clean.
When a Guide or Template Is Worth Using
A guide is worth using when the surface is finished, slippery, expensive, installed in place, or difficult to replace. It is also useful when the hole saw diameter is large, positions repeat, or cuts are close to edges. A guide can be a purpose-made accessory, a drill press setup, a clamped template, or a scrap block with a guide hole, depending on the job and material.
The guide should not introduce a new error. It must be secured, aligned, and thick enough to control the cutter. If the guide moves, the hole moves. If the guide is not square, the cutter may still enter at an angle. For cabinet panels, signage, fixtures, and electrical or plumbing openings, a stable guide often pays for itself by reducing visible mistakes.
When a guide is not available, the operator should slow down the start and watch the rim. If the first track is not even, stop before the groove becomes too deep to correct.
Final Setup Checklist
Before cutting a finished or accuracy-sensitive opening, confirm the center location, cutter diameter, material support, arbor condition, pilot drill condition, and tool angle. Check whether the exit side needs backing. Confirm that speed and feed are appropriate for the material. Keep chips clear, stop if the cutter walks, and inspect the first hole before repeating the process.
A clean hole is not produced by the cutter alone. It comes from the relationship between the cutter, the arbor, the workpiece, the tool, and the operator’s control at the start. When that relationship is stable, the hole saw can track cleanly and leave a more reliable edge.
For Bestwin customers choosing a hole saw for repeated shop, construction, cabinet, or maintenance work, the practical path is to match the cutter type and arbor to the material, then use the setup checks above to protect accuracy. A hole saw should start with control, cut with steady chip clearing, and finish with an edge that suits the fitting, fastener, pipe, cable, or trim that will go into the opening.










 English
  العربية
  Français
  Português
  Português do Brasil
  Italiano
  简体中文
简体中文  繁體中文
繁體中文  日本語
日本語  한국어
한국어  Deutsch
  Español
  Slovenčina
  ไทย
ไทย  Türkçe