
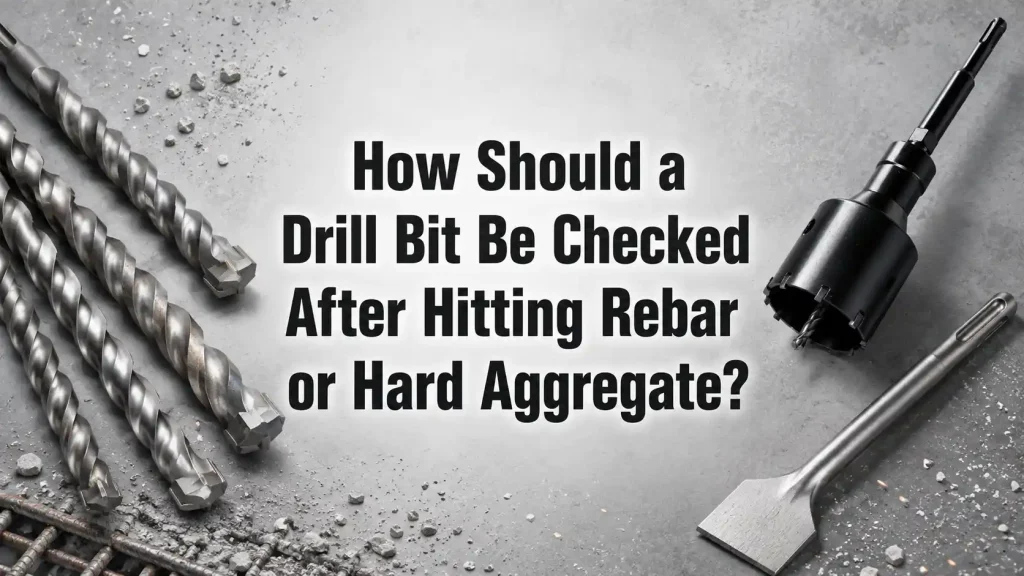
Concrete and stone drilling problems often start with a sudden change in sound. The tool slows, the vibration sharpens, dust output changes, or the hole stops advancing even though the operator is still applying pressure. On a jobsite, that moment is easy to misread. The Drill Bit may have reached hard aggregate, a buried steel bar, a dense stone pocket, or the edge of an existing hole. A Drill Bit that keeps being forced through that condition can lose carbide, glaze its cutting face, enlarge the hole, or damage the tool. The better response is to stop, check the hole, and decide whether the bit is still suitable before continuing.
Quick Answer
Check a Drill Bit after it hits rebar or hard aggregate by stopping pressure, clearing dust, inspecting the carbide tip or cutting edge, checking flute damage, confirming the shank is not bent, and measuring whether the hole is still accurate. If the tip is chipped, the bit wobbles, the hole has become oversized, or the tool begins to hammer without cutting, replace the bit or change the drilling method.
For concrete and stone work, Drill Bit selection should match the material, tool type, hole size, depth, and likelihood of embedded steel. The operator should not judge the bit only by whether it still turns. A bit that has lost its cutting shape can create slow drilling, higher vibration, more heat, rough holes, and greater risk of breakage.
What Changes When the Bit Hits Something Hard
A clean concrete hole produces steady dust and steady progress. When the bit meets unusually hard aggregate, the cutting action becomes less predictable. The tip may bounce instead of cutting. Dust may become coarse, dark, or uneven. The tool may vibrate more sharply. A Drill Bit can survive brief contact with hard material, but it should be checked when progress changes suddenly. A Drill Bit that changes sound and feel deserves inspection before the next hole is started.
Rebar contact is different from ordinary aggregate. A masonry bit is not automatically designed to cut steel. If the carbide tip rides on steel while the operator keeps pushing, the edge can chip or overheat. The hole may drift because the bit follows the easier side of the material. The operator may think more pressure will solve the problem, but pressure usually makes the damage worse.
The most useful question is not “Can I keep pushing?” It is “What did the bit hit, and what condition is the bit in now?” That question protects the hole, the tool, and the finished anchor or fastener location. A Drill Bit should be treated as a cutting tool with a defined shape, not as a disposable rod that can be forced through any obstacle.
Stop and Read the Symptoms First
The safest first response is to stop forward pressure. Keep control of the tool, remove the bit from the hole when the tool has stopped, and clear dust so the hole can be inspected. The pattern of dust, sound, and progress often gives useful clues. A bit that still rotates freely but no longer advances may be polishing hard material. A bit that grabs at one side may be touching rebar or a hard stone edge.
Do not immediately switch to higher force. More force can chip carbide, bend a long bit, or make the hole wander. It can also create a sudden catch when the bit breaks past the hard spot. If the drilling location is structural or safety-critical, follow the project procedure before changing the hole position or drilling through reinforcement.
| Symptom at the hole | Likely direction to check | Immediate response |
|---|---|---|
| Progress stops but dust remains light | Hard aggregate or worn cutting face | Withdraw, clear dust, inspect the tip |
| Tool vibrates sharply and hole begins to drift | Rebar edge or uneven aggregate | Stop pressure and inspect hole alignment |
| Dust turns dark or metallic | Possible steel contact | Stop and follow the site method for embedded steel |
| Bit squeals or face looks polished | Glazing, heat, or wrong mode | Let it cool and check the cutting edge |
| Hole becomes wider at the mouth | Side load, wobble, or damaged tip | Check bit straightness and tool alignment |
This first reading prevents a small delay from becoming a damaged hole or a broken bit.
Inspect the Tip Before Continuing
The tip tells the clearest story. On a masonry or hammer bit, look at the carbide insert or cutting head. The edges should still have a useful cutting shape. A rounded, chipped, cracked, or uneven tip will not cut cleanly even if the bit still spins. A Drill Bit with a damaged tip can make the operator push harder, which increases vibration and may damage the tool. A Drill Bit with an uneven tip can also pull away from the intended centerline.
Use good light. Wipe away dust. Compare the two sides of the tip if the design allows it. If one side is missing material, the bit may pull to one direction and enlarge the hole. If the tip is heavily polished, the bit may be rubbing instead of cutting. If the carbide has cracked, retire the bit from accurate hole work.

Do not rely only on touch. A small chip may not feel dramatic, but it can change how the bit centers itself. For anchor holes, template holes, bracket holes, and repeated production work, a poor cutting head can create holes that are technically drilled but not reliable enough for the job.
Check the Flutes and Dust Path
The flutes carry dust out of the hole. When a Drill Bit hits hard aggregate or rebar, dust flow can change. If the flutes are packed, bent, chipped, or worn smooth, the bit may stop clearing dust. The operator may think the material is too hard when the real problem is that the hole is full of debris.
Pull the bit out regularly during deep holes. Clear dust with the method allowed for the job. In concrete, packed dust increases heat and friction. It can also make the bit bind, which adds side load to the shank. A bit that cuts well near the surface may slow down simply because dust has nowhere to go.
Look for flute damage after a hard hit. A dented flute can reduce dust movement. A badly worn flute can hide heat problems. A chipped flute edge may scratch the hole wall and make the bit feel rough. The Drill Bit should still clear dust smoothly before it is trusted for the next hole.
Decide Whether the Hole Is Still Usable
After a hard strike, the bit is not the only thing to check. The hole itself may have changed. A hole that wandered, became oversized, or broke out at the edge may not suit the intended anchor. This matters because the hole can look acceptable from the surface while the inside is angled or rough.
Check the hole position, diameter, depth, and straightness as far as the job allows. If the work uses anchors, follow the anchor manufacturer’s hole-size and cleaning requirements. If the hole is part of a bracket, rail, or fixture pattern, confirm the alignment before drilling more holes. A Drill Bit that skated along rebar or a hard aggregate face can move just enough to create a fit problem later.
When the location is critical, do not solve a bad hole by drilling bigger without approval. A larger hole may remove the fit needed by the fastener. It may also damage the base material. The right fix depends on the job, the fastener, the structure, and the site rule.
Match Tool Mode to the Material
Hammer mode, rotary mode, and impact behavior all change how the bit works. A masonry bit in concrete normally uses hammer action, but some materials or edge conditions need more care. Too much hammering at a weak edge can break the surface. Too little hammering in hard concrete can polish the bit instead of cutting.
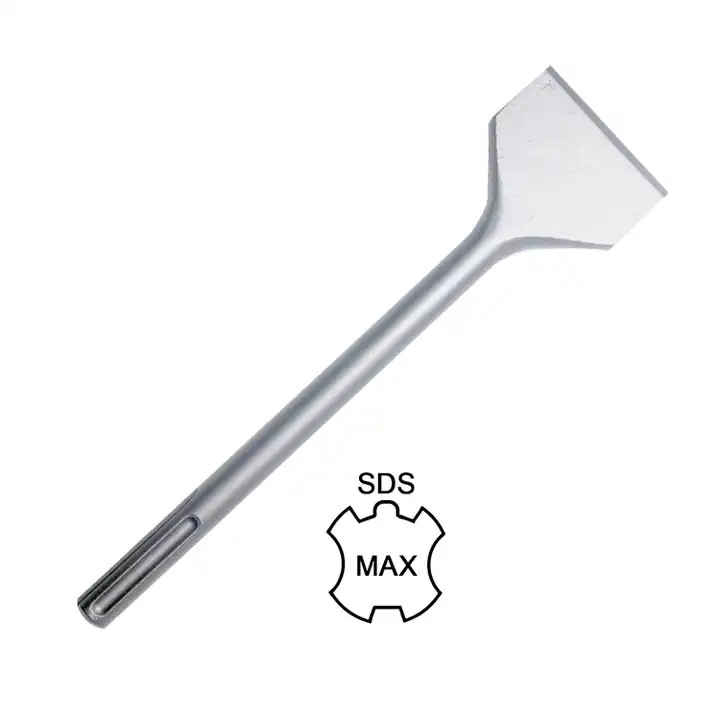
The tool and bit must match. SDS-plus, SDS-max, straight shank, core bit, and chisel-type accessories are not interchangeable in their drilling behavior. A Drill Bit used in the wrong tool or wrong mode may appear to be dull when the real issue is mismatch. If the shank is not seated correctly, the bit can wobble and damage the hole.
Before continuing after a hard hit, check the chuck or holder. Make sure the bit is seated. Look for shank wear, burrs, or dust in the holder. A damaged or dirty holder can make a good bit behave badly. This is especially important on repeated concrete work where the same tool runs all day.
Understand Rebar Contact Without Guesswork
Rebar contact should be treated carefully. In many jobs, drilling through reinforcement is not allowed without approval. Even when a job permits a method for embedded steel, the operator should not force a masonry bit into steel and hope it passes. A standard masonry Drill Bit may chip or overheat when it rides on rebar.
If metallic dust appears, progress stops suddenly, or the bit starts skating to one side, stop and inspect. The correct response may be to shift the hole, use a different approved accessory, consult the drawing, or follow a rebar-scanning and approval process. The exact decision belongs to the project rules.
A general drill bit reference describes the tool as a cutting accessory used to remove material and create holes. In reinforced concrete, the important detail is that the material can change inside the same hole. The bit may start in concrete, hit steel, return to concrete, and then cross another hard aggregate pocket. Each change can affect the bit condition.
Compare Bit Conditions After a Hard Hit
The table below gives a practical inspection guide. It is not a substitute for site rules, but it helps decide whether the bit can continue with ordinary work.
| Bit condition | What it usually means | Continue, pause, or replace |
|---|---|---|
| Tip edges still even and sharp | Bit likely remains usable | Continue with normal pressure and dust clearing |
| One carbide corner chipped | Bit may drift or cut oversize | Replace for accurate holes |
| Tip polished and slow | Heat, glazing, wrong mode, or hard material | Pause, cool, and reassess method |
| Shank visibly bent or bit wobbles | Side load or impact damage | Replace and inspect tool holder |
| Flutes packed or damaged | Dust cannot clear well | Clean or replace before deep drilling |
| Hole mouth is oval or broken | Alignment or side load problem | Check hole suitability before continuing |
This kind of check is quick, but it prevents repeated bad holes. A damaged Drill Bit rarely improves with more pressure.

Control Pressure and Alignment
Pressure should help the bit cut; it should not become a substitute for a sharp cutting head. Too little pressure can make the bit bounce and polish the surface. Too much pressure can overload the bit, enlarge the hole, and reduce tool control. After a hard hit, pressure should be reduced until the operator understands what changed.
Keep the tool aligned with the hole axis. Side load is one of the fastest ways to bend a long bit or break carbide. When drilling overhead, near edges, inside tight corners, or through a template, alignment can change without the operator noticing. A Drill Bit that hits hard material while it is already side-loaded is more likely to chip or drift.
Use stable body position and let the tool work at a controlled rate. If the bit stops advancing, do not lean harder as the first answer. Withdraw, clear dust, inspect, and decide whether the bit, the hole, or the method needs to change.
Watch for Heat and Glazing
Heat can be subtle in concrete drilling. The bit may look dusty rather than hot, but the cutting face can still glaze. A glazed bit rubs more than it cuts. The operator then pushes harder, which creates more heat. That loop shortens tool life and makes the hole rougher.
After hard aggregate or steel contact, let the bit cool before judging it. Do not cool it in a way that violates the tool or job procedure. Look for discoloration, polished carbide, softened dust, or a smell that suggests overheating. A Drill Bit that repeatedly overheats may be wrong for the material, worn, or used with poor dust clearing.
Heat also affects the tool holder. If the shank becomes hot and dusty, it can carry debris back into the chuck or SDS holder. Clean the shank and holder according to tool practice. A clean holder helps the bit run straighter and reduces vibration.
Choose the Right Replacement When the Bit Is Damaged
When replacement is needed, match the new bit to the job rather than grabbing the nearest size. Confirm diameter, usable length, shank type, drilling depth, tool type, and material. For concrete or stone, the cutting head design matters. For repeated anchor holes, consistency matters more than forcing one damaged bit through the rest of the work.
If the job involves hard concrete, dense stone, or possible reinforcement, a stronger masonry or hammer Drill Bit design may be more suitable than a light-duty bit. If the hole is large, a core bit or other approved method may be needed. If steel is confirmed, follow the job-approved method instead of treating it as ordinary concrete.
Bestwin’s Drill Bit range includes hammer-bit and core-bit options that can be matched to concrete, stone, and similar construction work when the tool, shank, diameter, and material are reviewed together. The right product choice should come after the inspection, not before it. The bit should fit the hole requirement and the problem that caused the first bit to struggle.
Protect Accuracy on Repeated Holes
Many drilling jobs require repeated holes in a line, template, or mounting pattern. A single damaged bit can turn the rest of the pattern into a problem. If the first hole after a hard hit is rough or slow, stop before continuing the whole set. Check whether the Drill Bit still centers well and whether the hole diameter remains consistent. A Drill Bit used for repeated anchor holes should cut predictably from the first hole to the last.
For bracket work, rail installation, signage mounts, pipe supports, and machinery bases, accuracy affects fit. An oversized hole may make the fastener loose. A slanted hole may pull the part out of position. A rough hole may make cleaning and anchor placement harder. These problems can remain hidden until installation, when they are harder to fix.
Use a test hole in scrap or a non-critical area only when the site procedure allows it. Otherwise, inspect the bit closely and replace it when accuracy matters. A bit that is “good enough to make dust” may not be good enough to make a controlled anchor hole.
Common Mistakes to Avoid
The first mistake is pushing harder when progress stops. A Drill Bit that has hit rebar or hard aggregate needs inspection, not more force. The second mistake is judging only by rotation. A damaged bit can spin, vibrate, and make dust while still producing poor holes.
The third mistake is ignoring the hole condition. The bit may survive, but the hole may be oversized, angled, or broken at the edge. The fourth mistake is continuing with a chipped carbide tip because only one corner looks damaged. That one corner can make the bit pull to the side.
The fifth mistake is using the same bit for every condition. Concrete, stone, brick, tile, and reinforced areas do not respond the same way. A Drill Bit should match the tool, shank, material, and hole requirement. When the condition changes, the bit and method may need to change too.
Where Bestwin Fits Into Concrete and Stone Drilling Review
After a hard hit, the useful decision is practical: inspect the bit, inspect the hole, clear the dust, confirm the tool mode, and decide whether continuing will protect the hole quality. If replacement is needed, choose by diameter, shank, cutting head, depth, and material rather than by appearance alone.
Bestwin offers Drill Bit and related drilling accessories for construction and maintenance work, including hammer-bit and core-bit styles that can support concrete and stone applications when properly matched. A Drill Bit should be selected after the operator understands the cause of slow progress, tip damage, heat, or hole drift. That keeps the product choice tied to the real drilling condition instead of turning replacement into guesswork.
Final Takeaway
A Drill Bit that hits rebar or hard aggregate should be checked before the operator continues. Stop pressure, clear dust, inspect the tip, check the flutes and shank, review the hole condition, and confirm tool mode and alignment. If the bit is chipped, glazed, bent, wobbling, or making rough oversized holes, replace it before more work is affected.
The goal is not to slow the job down. It is to avoid broken carbide, damaged tools, inaccurate anchor holes, and repeated rework. When the material changes inside the hole, a controlled inspection keeps the Drill Bit decision simple: continue only when the bit and hole are still in condition to do the work cleanly. A Drill Bit that fails that check should be replaced before it affects more holes.










 English
  العربية
  Français
  Português
  Português do Brasil
  Italiano
  简体中文
简体中文  繁體中文
繁體中文  日本語
日本語  한국어
한국어  Deutsch
  Español
  Slovenčina
  ไทย
ไทย  Türkçe