
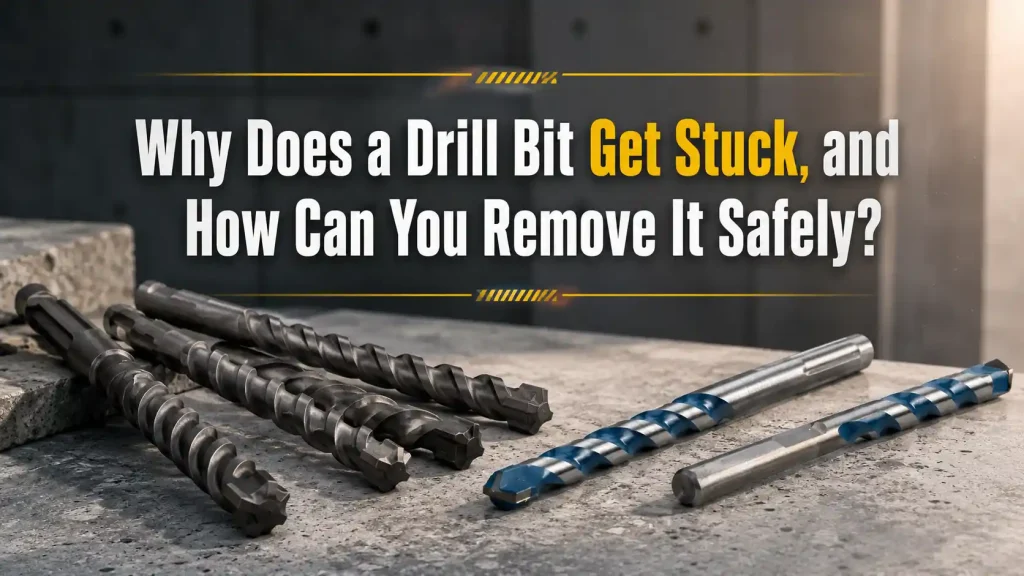
A stuck bit usually happens at the worst moment: the hole is almost finished, the drill suddenly stops feeding smoothly, and the operator feels the tool twist or strain. The workpiece may be clamped, the mark may be accurate, and the Drill Bit may still look usable, but chips, heat, pressure, angle, or the wrong bit style can trap the cutting edge inside the hole. Removing it safely is not only about saving the bit. It is about protecting the workpiece, the drill, and the person holding the tool.
Quick Answer
A Drill Bit gets stuck when chips cannot clear, the bit overheats, the feed pressure is too high, the drill angle changes, the flute binds, the workpiece flexes, the material closes around the hole, or the bit is wrong, dull, bent, or damaged. Stop forcing the drill as soon as binding starts. Release trigger pressure, keep the tool supported, reverse slowly if the bit style allows it, clear chips, reduce heat, and inspect both the hole and the bit before continuing.
The safer rule is simple: a Drill Bit should cut and clear material, not be pushed until it jams. If removal requires heavy force, the bit is telling you that the hole, material, speed, pressure, or tool setup needs attention. Continuing with the same setup often breaks the bit or damages the hole.
Why a Drill Bit Gets Stuck
Binding usually begins before the drill fully stops. The feed feels heavier, chips stop moving out of the hole, the tool pitch changes, or the workpiece starts pulling the bit sideways. A Drill Bit is a cutting tool with flutes or edges designed to remove material. When those flutes fill, the cutting lips rub, or the side of the hole grabs the bit, the tool can no longer advance cleanly. A Drill Bit that is already binding should be treated as a warning, not as a reason to push harder.
Different materials bind in different ways. Wood can close around the shank, especially near knots or when the exit side is unsupported. Metal can create long chips that pack the flutes and increase heat. Masonry dust can clog the hole if the bit is not withdrawn periodically. Plastic can soften and smear around the cutting edge. A Drill Bit may also get stuck because the operator changes angle while pushing through the final part of the hole.
The most important response is to stop early. Forcing a jammed bit can bend the shank, snap a small diameter, enlarge the hole, strip the chuck, or twist the drill in the user’s hands. A stuck Drill Bit is usually a symptom, not the root cause.
Read the First Warning Signs
The first warning sign is a change in feed pressure. If the drill was cutting smoothly and suddenly needs much more force, something has changed in the hole. The bit may have reached a harder layer, packed chips into the flutes, overheated, or started to drift from the original angle.
Sound is another warning. Squealing in metal, scraping in wood, heavy hammering in masonry, or a motor that bogs down should prompt a pause. Heat is also important. If the bit or surrounding material becomes hot quickly, the cutting edge may be rubbing instead of cutting. When the Drill Bit starts to bind, stopping for a small correction is faster than extracting a broken bit later.
| Warning sign | Likely cause | Immediate response |
|---|---|---|
| Feed pressure rises suddenly | Packed chips, dull edge, wrong speed | Stop and withdraw gently to clear chips |
| Drill twists in the hand | Bit side-load or workpiece movement | Support the tool and release pressure |
| Squealing or smoke | Heat, rubbing, dull cutting edge | Let the bit cool and check speed/feed |
| Hole becomes rough or oversized | Angle change, bent bit, poor support | Inspect alignment before continuing |
| Bit stops near breakthrough | Exit side grabbing, material flexing | Back off and support the exit side |
This quick diagnosis helps decide whether the bit can be removed with light correction or whether the work should be reclamped and inspected before the hole continues.
Stop Forcing the Tool
The worst reaction is to keep leaning on the drill. Extra pressure can make a stuck Drill Bit dig deeper into the side wall of the hole. It can also make the tool twist if the bit suddenly catches. If the drill has a clutch, the clutch may slip, but that does not mean the setup is safe. It only means torque is being limited.
Release trigger pressure first. Keep the drill supported so the bit stays aligned with the hole. If the bit is still turning, let it stop under control. Do not yank the tool sideways. Side loading bends small bits and damages the hole. If the bit is hot, give it time to cool before touching it or applying more force.
Once the pressure is removed, check whether the bit can rotate freely. Sometimes the jam clears as soon as the feed load is reduced. If the bit remains tight, the next step is controlled removal, not more force.
Reverse Carefully When the Bit Style Allows It
Reversing the drill can help remove a stuck twist bit or some general-purpose bits, but it should be done slowly and with the drill held in line with the hole. Fast reverse can strip the chuck, damage the hole, or cause the bit to pull out suddenly. Use light pressure and keep the tool square. If the Drill Bit does not begin to move with gentle reverse, the setup needs inspection before more torque is added.
Not every bit style responds the same way. Some wood auger bits have screw points that can pull aggressively. Some masonry bits are not meant to be worked back and forth under heavy side load. Some hole conditions need chip clearing before reverse will work. If the Drill Bit moves backward smoothly, remove it, clear the flutes, and inspect the edge before continuing.
If reverse does not work with light pressure, stop. A jammed bit that does not release may be wedged by chips, heat, a bent shank, or workpiece movement. More torque can snap the bit and leave a harder problem inside the hole.

Clear Chips Before Going Deeper
Chip clearing is one of the simplest ways to prevent a Drill Bit from getting stuck. Deep holes need periodic withdrawal so chips can escape. Metal drilling may need the right speed, controlled feed, and cutting fluid where appropriate. Wood drilling may need the bit pulled back to clear shavings. Masonry drilling may need dust cleared from the hole so the tip can keep cutting.
The longer the hole, the more important chip removal becomes. Chips trapped in the flutes act like a wedge. They increase friction, heat, and side pressure. The bit starts rubbing the wall instead of cutting the bottom. The operator feels this as resistance and often adds pressure, which makes the bind worse.
| Material | Chip problem | Better habit |
|---|---|---|
| Wood | Long shavings pack around flutes or screw point | Withdraw periodically and support the exit side |
| Metal | Long or hot chips clog the flute | Use correct speed, feed, and lubrication where suitable |
| Masonry | Dust stays in the hole and slows the tip | Pull back to clear dust and avoid excessive side load |
| Plastic | Softened material smears around the edge | Reduce heat and clear the bit before melting starts |
| Laminates or thin sheet | Material grabs near breakthrough | Clamp backing and reduce pressure near exit |
Clearing chips may feel slower, but it usually makes the hole faster overall because the Drill Bit keeps cutting instead of fighting packed debris.
Match Speed and Feed to the Material
Speed and feed are linked. Too much speed can create heat. Too much feed can overload the cutting edge. Too little feed in some metal work can make the bit rub instead of cut. The right balance depends on material, diameter, bit type, tool power, and whether lubrication is used.
A small Drill Bit in metal can overheat quickly if speed is too high and chips are not forming. A large bit in wood can grab if the operator pushes hard at breakthrough. A masonry bit can jam if the hole fills with dust and the operator keeps adding pressure. A general drill bit reference can clarify common bit shapes, but the practical setting still comes from the material and the hole behavior in front of you.
Use the bit as feedback. Healthy drilling produces controlled chips or dust, reasonable sound, and steady progress. If the bit squeals, smokes, overheats, or stops clearing material, adjust before the Drill Bit gets stuck.
Keep the Drill Aligned With the Hole
Many stuck-bit problems begin with angle change. The bit starts straight, then the operator tilts the drill while leaning around a clamp, reaching into a corner, or pushing through the last part of the hole. The side of the bit rubs the wall, the flutes stop clearing, and the hole grips the shank.
Keep the drill square to the surface and aligned with the existing hole. Use both hands when the tool and work allow it. Reposition the body instead of bending the wrist. If the hole is deep, do not use the drill as a lever to widen the path. A Drill Bit is strong in rotation, not in side bending.
Long bits need extra care. The longer the shank, the easier it is to flex. If accuracy matters, start with a shorter pilot where appropriate and then switch to the longer bit only after the hole is established. This reduces wandering and lowers the chance of binding.
Support the Workpiece Near Breakthrough
Breakthrough is a common moment for a Drill Bit to get stuck. As the point exits, the remaining material becomes thin and can grab the cutting edge. Wood can splinter and catch. Thin metal can burr and twist. Plastic can crack or melt. Masonry can chip at the exit side if the drill is pushed too hard.
Backing material helps. Clamp scrap wood behind wood panels when a clean exit is needed. Support thin metal so it cannot flex into the bit. Reduce pressure near the end of the hole. Let the Drill Bit finish the cut instead of punching through with force.
If the bit is already stuck near breakthrough, do not pry the drill sideways. Back off gently, support the exit side if possible, and clear chips. If the workpiece is small, stop and reclamp it before trying again. A moving workpiece can trap the bit more tightly than the material itself.
Inspect the Bit After Removal
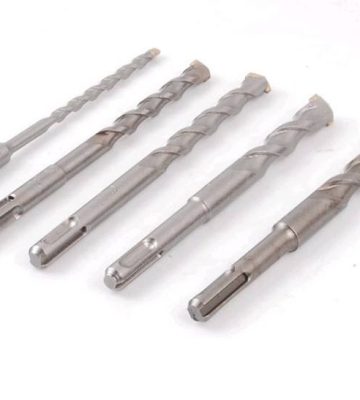
After a stuck Drill Bit is removed, inspect it before using it again. Look for rounded cutting lips, chipped carbide, bent shank, clogged flutes, heat discoloration, resin buildup, cracked tip, or uneven wear. A bit that caused one jam may cause another if the edge is damaged.
Cleaning may be enough if the flutes are packed with wood pitch, metal chips, plastic, or masonry dust. Sharpening may help some twist bits if the cutting shape can be restored. Replacement is better when the bit is bent, cracked, chipped, badly overheated, or no longer cuts on center. A Drill Bit with a damaged edge can jam again even after the hole has been cleared.
Check the chuck as well. A slipping chuck can let the bit move under load and then bind. Make sure the shank is seated correctly and tightened evenly. If the shank has flats, seat it as designed. A good Drill Bit held poorly can still jam.
Decide Whether to Continue the Same Hole
Do not automatically restart the same hole after extraction. Look into the hole first. Are chips packed at the bottom? Is the hole angled? Is the workpiece cracked? Has the hole become oversized? Is there a hard inclusion, nail, screw, rebar, tile edge, or hidden bracket? The cause should be understood before continuing.
If the hole is still usable, clear debris and restart with lighter feed. If the hole is damaged, decide whether it can be repaired, shifted, enlarged, sleeved, or abandoned. For anchors and screws, hole quality matters. A rough or oversized hole may not hold properly even if the Drill Bit is eventually removed.
For production or repeated work, make a small process change after one stuck bit. Adjust speed, support, pilot size, lubrication, clearing interval, or bit choice. One jam is useful feedback. Repeating the same jam wastes time and shortens tool life.
Prevent Sticking in Deep Holes
Deep holes need a different rhythm from shallow holes. The bit must cut, clear, cool, and stay aligned over a longer distance. Use a bit length that fits the job without excessive flex. Clear chips frequently. Keep pressure steady rather than heavy. If the hole is blind, avoid packing debris at the bottom.
Pilot holes can help larger bits stay centered and reduce the amount of material removed at once. However, the pilot should match the final job. A pilot that is too small may not help chip flow, while a pilot that is too large may reduce accuracy or holding strength. The final Drill Bit should still cut cleanly and clear material.
In metal, a stepped approach can reduce load on larger diameters. In wood, auger or spade bits need chip clearance and backing at exit. In masonry, dust clearing is essential. The best prevention is to treat a deep hole as a process, not a single push.
Choose a Bit Style That Fits the Job
A bit can get stuck because it is simply the wrong style for the material. A masonry bit is not a clean wood bit. A brad point bit is not a metal bit. A router bit is not a substitute for a general drilling bit. A long flexible bit is not ideal for a shallow precision hole. Matching the Drill Bit to the work reduces heat, side load, and chip problems.
Consider the material, diameter, depth, tool type, finish requirement, and whether impact or hammer action is appropriate. For masonry, hammer-compatible bits should match the tool and anchor requirement. For wood, the point style and flute shape affect chip removal and exit quality. For metal, edge condition, speed, and lubrication matter.
Bestwin supplies drill bits, hammer bits, chisels, and related tool sets for workshop, installation, and repair tasks. The useful choice starts with the work condition: a Drill Bit should match the material and should leave enough chip path for the depth being drilled.

Field Checklist Before You Drill Again
Use a short check before restarting after a jam.
- Is the Drill Bit straight, sharp, clean, and seated correctly in the chuck?
- Are chips or dust cleared from the hole and the flutes?
- Is the drill aligned with the original hole?
- Is the workpiece clamped and supported near the exit side?
- Is the speed suitable for the material and bit diameter?
- Is lubrication needed for the metal being drilled?
- Is the bit style correct for wood, metal, masonry, plastic, or tile?
- Is the hole still usable for the screw, anchor, or fitting?
- Can a pilot hole or backing material reduce the next bind?
- Does the job justify replacing the bit before continuing?
If several checks point to risk, replace the bit or change the setup. A Drill Bit that already jammed once should not be trusted blindly for a critical finished hole.
Final Takeaway
A Drill Bit gets stuck because cutting, chip clearing, alignment, heat control, or material support has broken down. The safest response is to stop early, release pressure, reverse gently only when appropriate, clear chips, cool the bit, inspect the edge, and correct the setup before drilling again.
For clean and controlled work, treat the Drill Bit as part of a system that includes the material, tool, chuck, feed pressure, speed, support, and chip path. When those details work together, the bit cuts instead of wedges, the hole stays closer to size, and the job is less likely to end with a broken shank or damaged workpiece.










 English
  العربية
  Français
  Português
  Português do Brasil
  Italiano
  简体中文
简体中文  繁體中文
繁體中文  日本語
日本語  한국어
한국어  Deutsch
  Español
  Slovenčina
  ไทย
ไทย  Türkçe