
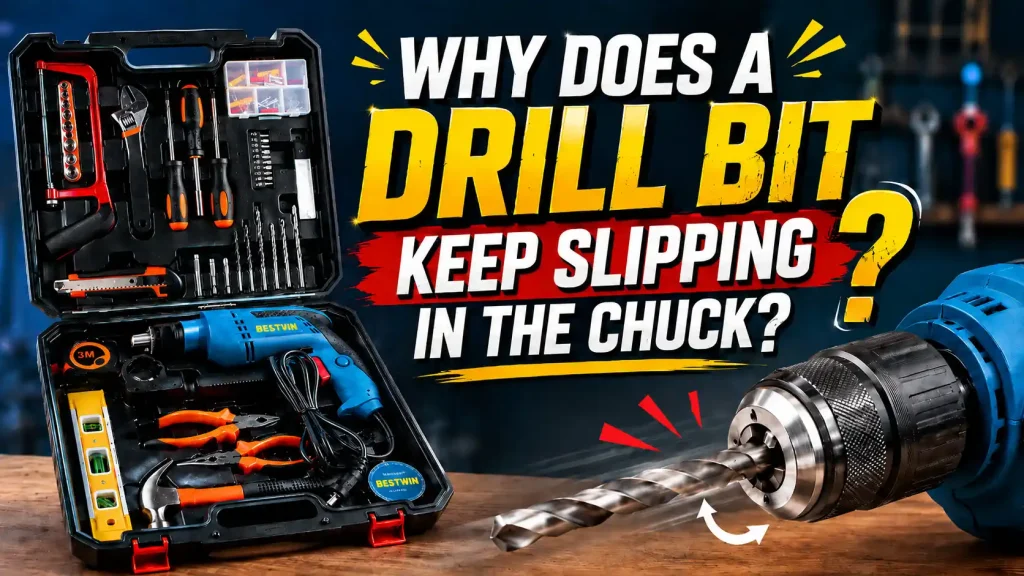
A drilling job can go wrong before the cutting edge reaches full depth. The motor is turning, the chuck appears closed, and the operator is applying steady pressure, yet the bit stops rotating or slides deeper into the jaws. A shiny ring appears on the shank, the hole stalls, and tightening the chuck again helps only for a short time. When a Drill Bit keeps slipping in the chuck, the cause may be poor clamping, contamination, an unsuitable shank, excessive torque, or damage that should be corrected before drilling continues.
Quick Answer
A Drill Bit slips in a chuck when the jaws cannot create enough clean, even grip for the torque being transmitted. Common causes include an oily or polished shank, chips inside the chuck, uneven jaw contact, incorrect insertion depth, insufficient tightening, a damaged chuck, an undersized shank, excessive feed pressure, or using the wrong drill and bit combination for the material.
Start by stopping the tool, disconnecting power, removing the bit, and cleaning both the shank and chuck jaws. Inspect the shank for scoring, flattening, or heat discoloration. Reinstall the Drill Bit so the jaws clamp the straight shank rather than the flutes, then tighten the chuck evenly. If slipping returns, reduce the drilling load and inspect the chuck for wear or damage instead of simply applying more force.
What Slipping Actually Looks Like
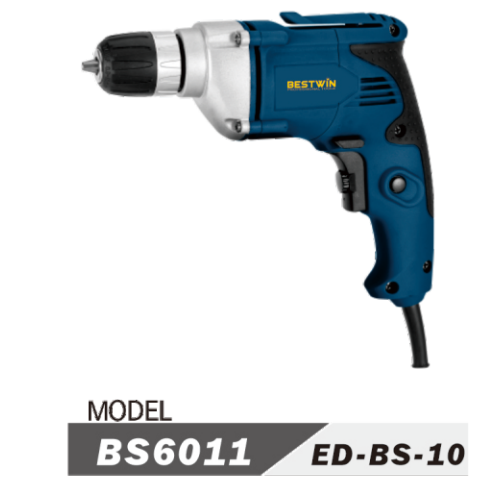
Slipping is different from a bit that stops because the drill’s clutch releases or the motor stalls. With true chuck slip, the chuck body continues turning while the Drill Bit rotates more slowly, stops, or moves axially. The shank may show circular polishing marks where the jaws lost grip. A keyless chuck may loosen after repeated impacts, while a keyed chuck may grip unevenly if only one key position was tightened.
Another clue is a changing insertion depth. If the Drill Bit gradually moves into the chuck, the jaws may be clamping too close to the flutes or on a tapered transition rather than on a full cylindrical shank. If it moves outward, the drilling load may be pulling it from the jaws, particularly during breakthrough, hole-saw use, or when a bit binds in the material.
Do not confuse chuck slip with cutting-edge slip. A dull Drill Bit can spin without making progress even though the shank remains firmly clamped. Marking the shank with a removable line near the chuck can help show whether the bit is moving relative to the jaws. This quick observation prevents the operator from tightening a good chuck when the real problem is a worn cutting edge or poor drilling technique.
Clean Grip Surfaces Before Tightening
Oil reduces friction exactly where the chuck needs it. A small amount of cutting fluid can migrate up the flutes and reach the shank, especially during horizontal or overhead drilling. Grease from storage, corrosion inhibitor, dust, resin, and fine metal chips can have the same effect. A Drill Bit with a wet or dirty shank may slip even when the chuck is tightened firmly.
Remove the bit and wipe the shank with a clean, lint-free cloth. Clean the accessible jaw surfaces and open the chuck fully enough to release trapped chips. Avoid flooding the chuck with solvent unless the tool manufacturer permits it, because liquid can carry debris deeper into the mechanism or remove necessary internal lubrication. The goal is a clean, dry clamping surface, not a dry internal gear system.
Inspect the jaws under good light. All jaws should move together and meet the Drill Bit evenly. Packed dust or a metal chip behind one jaw can cause the bit to sit off-center. That reduces contact area, increases runout, and concentrates pressure on only part of the shank. Cleaning often fixes intermittent slipping that otherwise looks like a worn chuck.
Keep Cutting Fluid at the Cutting Zone
When drilling metal, apply cutting fluid near the cutting edges rather than coating the entire Drill Bit. Excess fluid on the shank does not improve cutting and can weaken chuck grip. If the job requires frequent lubrication, pause occasionally to check whether fluid has traveled back toward the chuck.
Woodworking creates a different contamination problem. Fine dust, resin, and compacted chips can collect inside a keyless chuck. Masonry drilling can introduce abrasive dust that interferes with jaw movement. In every material, a clean Drill Bit shank gives the chuck its best chance to transmit torque without damage.
Insert the Shank to the Correct Depth
The chuck jaws should grip the straight shank, not the cutting flutes. If a Drill Bit is inserted too deeply, the jaws may close on the fluted section or on the rounded transition between the shank and body. Contact becomes uneven, and the sharp flute edges can mark the jaws. If the bit is inserted too shallowly, too little shank remains inside the chuck to resist torque and bending.
Open the chuck far enough for the Drill Bit to enter without scraping heavily against the jaw tips. Insert the shank until there is sufficient full-diameter contact, while keeping the flutes outside the jaws. For short bits, verify that the jaws are not reaching the cutting section. For long bits, do not rely on shallow insertion to gain extra reach; use the correct bit length or a suitable extension system.
Some accessories have reduced, hexagonal, or specially formed shanks. These designs may improve torque transfer when used in a compatible chuck, but they still need full jaw engagement. A Drill Bit with a damaged hex corner or heavily scored round shank may not seat evenly. If the shank shape no longer matches the chuck, replacement is safer than repeated overtightening.
Table 1. Shank and Chuck Fit Check
| Check point | Acceptable condition | Risk of Drill Bit slipping |
|---|---|---|
| Shank surface | Clean, dry, straight, and free of deep scoring | Oil, polish, rust, or flattened areas reduce grip |
| Insertion depth | Jaws fully contact the straight shank | Shallow grip or clamping on flutes reduces contact area |
| Jaw movement | All jaws close evenly toward the center | One sticky jaw causes runout and weak clamping |
| Shank size | Within the chuck’s stated capacity | Very small or oversized shanks may not clamp correctly |
| Chuck type | Suitable for the tool and drilling load | Light-duty chucks can loosen under repeated high torque |
Tighten the Chuck Evenly
Keyless and keyed chucks require different habits. A keyless chuck should be held and tightened according to the drill manufacturer’s instructions. Many users stop at the first resistance, but the jaws may not yet be fully seated around the Drill Bit. Tighten firmly by hand without using pliers on the chuck sleeve, which can damage the surface or internal mechanism.
For a keyed chuck, tighten at each available key position rather than using only one hole. Moving the key around the chuck helps equalize jaw pressure and center the Drill Bit. One-position tightening can leave the jaws loaded unevenly, especially on an older chuck. Remove the key before power is connected and never leave it hanging from the chuck.
More force is not always better. Overtightening can damage small shanks, distort jaw surfaces, or make removal difficult. It can also hide the fact that the Drill Bit and chuck are poorly matched. The correct goal is firm, even clamping on a clean shank. If normal tightening cannot prevent slip under an appropriate load, inspect the chuck and drilling setup.
Recheck After the First Hole
Newly installed bits can settle slightly after the first load cycle. Stop the drill, disconnect power, and confirm that the Drill Bit remains at the same depth and the chuck is still tight. This is particularly useful after changing from a small pilot hole to a larger bit or after starting a demanding metal hole.
Repeated retightening during every hole is not normal. It suggests contamination, excessive torque, jaw wear, or an unsuitable shank. A Drill Bit should remain secure through a reasonable drilling cycle when the tool and cutting conditions are correct.
Reduce Torque That the Setup Cannot Handle
Chuck slip is sometimes a warning that the cutting load is too high. A large Drill Bit, a dull edge, low spindle speed, excessive feed pressure, packed chips, or a sudden breakthrough can create more torque than the chuck can transmit. Tightening harder may move the failure point to the chuck, spindle, bit, or operator’s wrist.
Match speed to bit diameter and material. Larger diameters generally require lower speed, while very low speed combined with aggressive feed can still overload the cutting edges. Let a sharp Drill Bit cut instead of forcing it. If chips stop clearing, withdraw periodically while maintaining control so the flutes can release debris.
Pilot holes can reduce load when they are appropriate for the bit type and material. Step drilling may help with large holes in metal, although the pilot diameter should not remove the cutting action needed by the larger bit. A Drill Bit that repeatedly grabs at breakthrough may benefit from lighter feed as the point approaches the far surface and better support behind the workpiece.
The tool also matters. A small hand drill may not be suitable for a very large diameter or demanding masonry task. A Drill Bit can be technically correct for the material while the chuck and drill are not strong enough for the required torque. Use a machine, chuck, and bit combination intended for the operation.
Check Whether the Bit Is Binding
A binding bit can pull against the jaws with far more force than normal cutting. This happens when the hole closes on the Drill Bit, chips pack in the flutes, the tool is tilted, the workpiece moves, or the bit breaks through and catches. The operator may notice a sudden twist followed by a polished shank or a loosened chuck.
Clamp the workpiece so it cannot rotate. Keep the drill aligned with the hole and avoid using the bit as a lever to enlarge the opening. Clear chips before the flutes become completely packed. For deep holes, use controlled withdrawal cycles rather than waiting for the Drill Bit to jam.
If binding occurs, release the trigger immediately and support the tool. Do not reverse at full power while the bit is severely loaded. After removal, inspect both the Drill Bit and chuck. A single severe slip can burr the shank, damage jaw edges, or create a high spot that prevents future centered clamping.
Inspect Shank Damage Before Reuse
Slipping leaves evidence. Look for bright rings, dark heat marks, longitudinal gouges, raised burrs, flattened areas, and changes in shank diameter. A damaged Drill Bit may continue slipping because the jaws contact only the high points. It may also run out of center, producing an oversized or rough hole.
Minor surface polishing can sometimes be cleaned, but deep jaw marks or a visibly distorted shank justify replacement. Do not grind a hardened shank casually to make it fit. Removing material can change balance, reduce strength, and create an irregular gripping surface. A Drill Bit that has turned blue from friction or shows cracking should be retired.
Check straightness by rolling a suitable bit on a flat reference surface or by measuring runout in a controlled setup. A bent Drill Bit places changing side loads on the jaws during every revolution. Even a good chuck may loosen when repeatedly loaded off-center.
The Drill bit form should also suit the intended work. Round, hex, SDS, and reduced shanks are not interchangeable in every holder. An SDS accessory belongs in a compatible SDS mechanism rather than a normal three-jaw chuck, while a standard round-shank bit needs clean, even jaw contact.
Inspect the Chuck for Wear or Damage
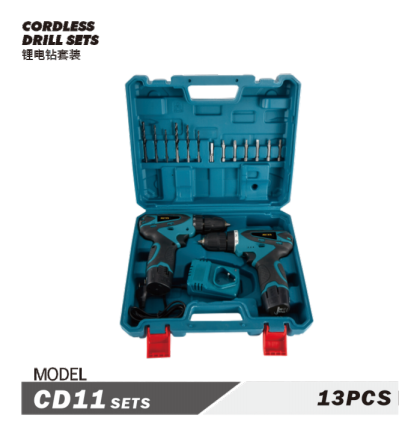
If several clean, undamaged bits slip, the chuck deserves closer attention. Open and close it through its full range. The jaws should move smoothly and remain centered. A jaw that lags, sticks, or closes at a different height can prevent full contact with the Drill Bit.
Examine the jaw faces for rounding, chips, cracks, or embedded metal. Repeated slip can polish the gripping surfaces. A chuck that has been tightened with pliers, struck during bit removal, or exposed to heavy abrasive dust may have internal damage. Installing another Drill Bit will not correct a mechanism that cannot apply even pressure.
Check for excessive runout. Some movement can come from the bit itself, but visible wobble with multiple straight bits suggests a chuck, spindle, or bearing issue. Runout increases side load and causes the jaws to work against the Drill Bit once per revolution. This can loosen even a tightly installed bit.
For a removable chuck, follow the tool maker’s service procedure. Do not attempt improvised disassembly while the drill is powered or the battery is installed. If the chuck cannot hold bits within its rated capacity under normal load, replacement is usually more reliable than repeated overtightening.
Match the Chuck Capacity to the Shank
Every chuck has a minimum and maximum capacity. A very small Drill Bit can be difficult for worn jaws to center, while an oversized shank may prevent the jaws from closing deeply enough. Read the capacity marking and confirm that the shank is inside the permitted range.
Reduced-shank bits allow a larger cutting diameter to fit a smaller chuck, but the drilling torque still rises with cutting diameter. The smaller shank becomes the torque-transfer surface. A Drill Bit of this type should be used only when the drill, chuck, speed, and material are suitable for the load. The fact that the shank fits does not prove the whole setup is adequate.
Hex shanks can improve resistance to rotational slip in a compatible three-jaw or quick-change holder, but they do not solve every problem. A loose holder, rounded hex corners, shallow insertion, or excessive torque can still cause movement. Choose the shank style for the holder and application rather than treating it as a universal repair.
Use the Correct Technique for the Material
Metal drilling often produces high torque when the cutting edge is dull, speed is wrong, or chips weld to the flutes. Keep the Drill Bit sharp, use suitable speed and lubricant, and reduce feed near breakthrough. If the bit squeals without producing healthy chips, stop and correct the cutting condition before the shank slips.
Wood drilling can grab when a screw-point or auger-style Drill Bit advances faster than the operator can control. Secure the workpiece and use a drill with enough low-speed control. Resin buildup should be removed from the bit and chuck area. Do not let a self-feeding point pull a handheld drill into an unstable angle.
Masonry work creates impact and abrasive dust. Use the holder and Drill Bit system intended for the drill’s operating mode. A standard three-jaw chuck with an unsuitable accessory may loosen under hammering. Clean dust frequently and inspect the jaws because abrasive particles can accelerate wear.
Tile, glass, and brittle surfaces require controlled pressure and the correct cutting geometry. A slipping Drill Bit can scratch the finished surface or create sudden side loading. Stabilize the start, avoid excessive force, and stop immediately if the shank moves in the chuck.
Table 2. Symptom-to-Correction Guide
| Symptom | Probable cause | Next action |
|---|---|---|
| Shiny ring around the shank | Rotational slip under torque | Clean and inspect the Drill Bit, then reduce cutting load |
| Bit moves deeper into chuck | Jaws clamping near flutes or shallow jaw contact | Reinstall on the full straight shank |
| Bit wobbles after tightening | Uneven jaws, debris, bent shank, or runout | Clean, reseat, and compare with another straight bit |
| Chuck loosens during impact | Unsuitable chuck or tightening method | Use the correct holder and operating mode |
| Multiple bits slip under normal load | Worn or damaged chuck | Inspect jaw movement and replace the chuck if needed |
A Safe Reset Procedure
When slipping is detected, release the trigger and wait for all motion to stop. Disconnect the cord or remove the battery. Secure the workpiece and let a hot Drill Bit cool before touching it. Gloves should not be worn near rotating machinery, but suitable hand protection may be used during handling after the tool is isolated.
Remove the bit, clean the shank, and inspect it for damage. Open the chuck, remove visible debris, and confirm that the jaws move together. Reinstall the Drill Bit at the correct depth, tighten evenly, and rotate it by hand to check for obvious wobble. Mark the insertion position if movement has been difficult to observe.
Test at low speed without contacting the workpiece. Then make a controlled trial in scrap or a noncritical area using appropriate speed and feed. Stop if the Drill Bit slips again. Repeated slipping can damage the shank and chuck quickly, so a failed retest should lead to chuck inspection, bit replacement, or a different tool setup.
When to Replace the Bit or Chuck
Replace the Drill Bit when its shank is deeply scored, flattened, cracked, bent, heat damaged, or no longer held concentrically. Also replace it when a dull or chipped cutting edge is creating excessive torque that cannot be corrected safely. A new shank surface will not help if the cutting end continues to bind.
Replace or service the chuck when the jaws do not move evenly, gripping faces are visibly worn, the mechanism repeatedly loosens, or several straight bits slip under normal drilling load. Check the spindle and bearings if a new chuck still shows excessive runout. The Drill Bit, chuck, and spindle form one rotating system, so each part must be sound.
Do not continue using a combination that requires unusual force to stay tight. A slipping bit can damage the workpiece, break the cutting tool, or twist the drill unexpectedly. The cost of correcting the clamping problem is usually lower than the cost of a damaged hole, broken accessory, or injury.
Choosing Bestwin Drill Bit Options After the Cause Is Known
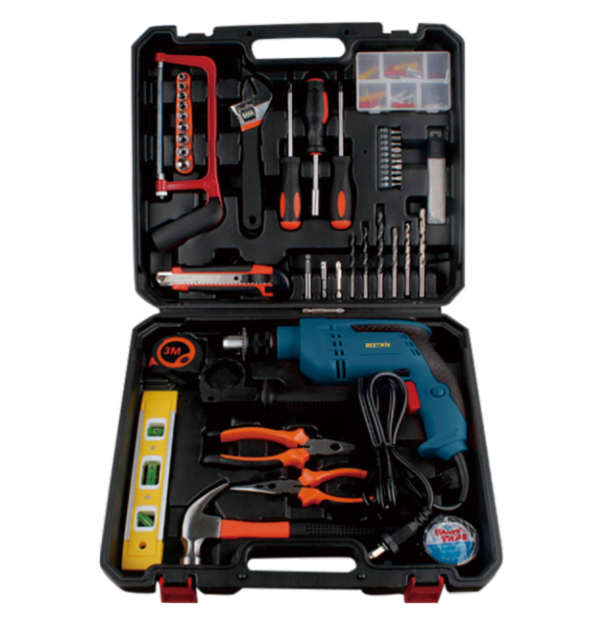
Once the chuck is clean and serviceable, selection returns to the material, hole size, depth, and tool type. Bestwin offers drilling categories that include woodworking, electric hammer, and multifunctional options. The useful choice is the one whose cutting geometry and shank suit the material and holder, because an appropriate Drill Bit reduces unnecessary torque and is easier for the chuck to hold securely.
When comparing Drill Bit options, check shank diameter, shank form, overall length, cutting diameter, and the drill’s chuck capacity. These details connect product selection to the actual slipping problem without assuming that tighter jaws alone will solve an overloaded or mismatched setup.
Final Takeaway
A Drill Bit usually slips because grip has been reduced or drilling torque has risen beyond what the chuck can transmit. The most effective checks are simple: isolate the tool, clean the shank and jaws, clamp only the straight shank, tighten evenly, inspect for damage, reduce binding and excessive feed, and confirm that the chuck is suitable for the bit and material.
Do not treat repeated retightening as normal. A Drill Bit that moves after a careful reset is giving useful evidence about contamination, wear, runout, shank fit, or cutting load. Correcting that cause protects the chuck, improves hole accuracy, and gives the operator more predictable control during the next drilling cycle.










 English
  العربية
  Français
  Português
  Português do Brasil
  Italiano
  简体中文
简体中文  繁體中文
繁體中文  日本語
日本語  한국어
한국어  Deutsch
  Español
  Slovenčina
  ไทย
ไทย  Türkçe